
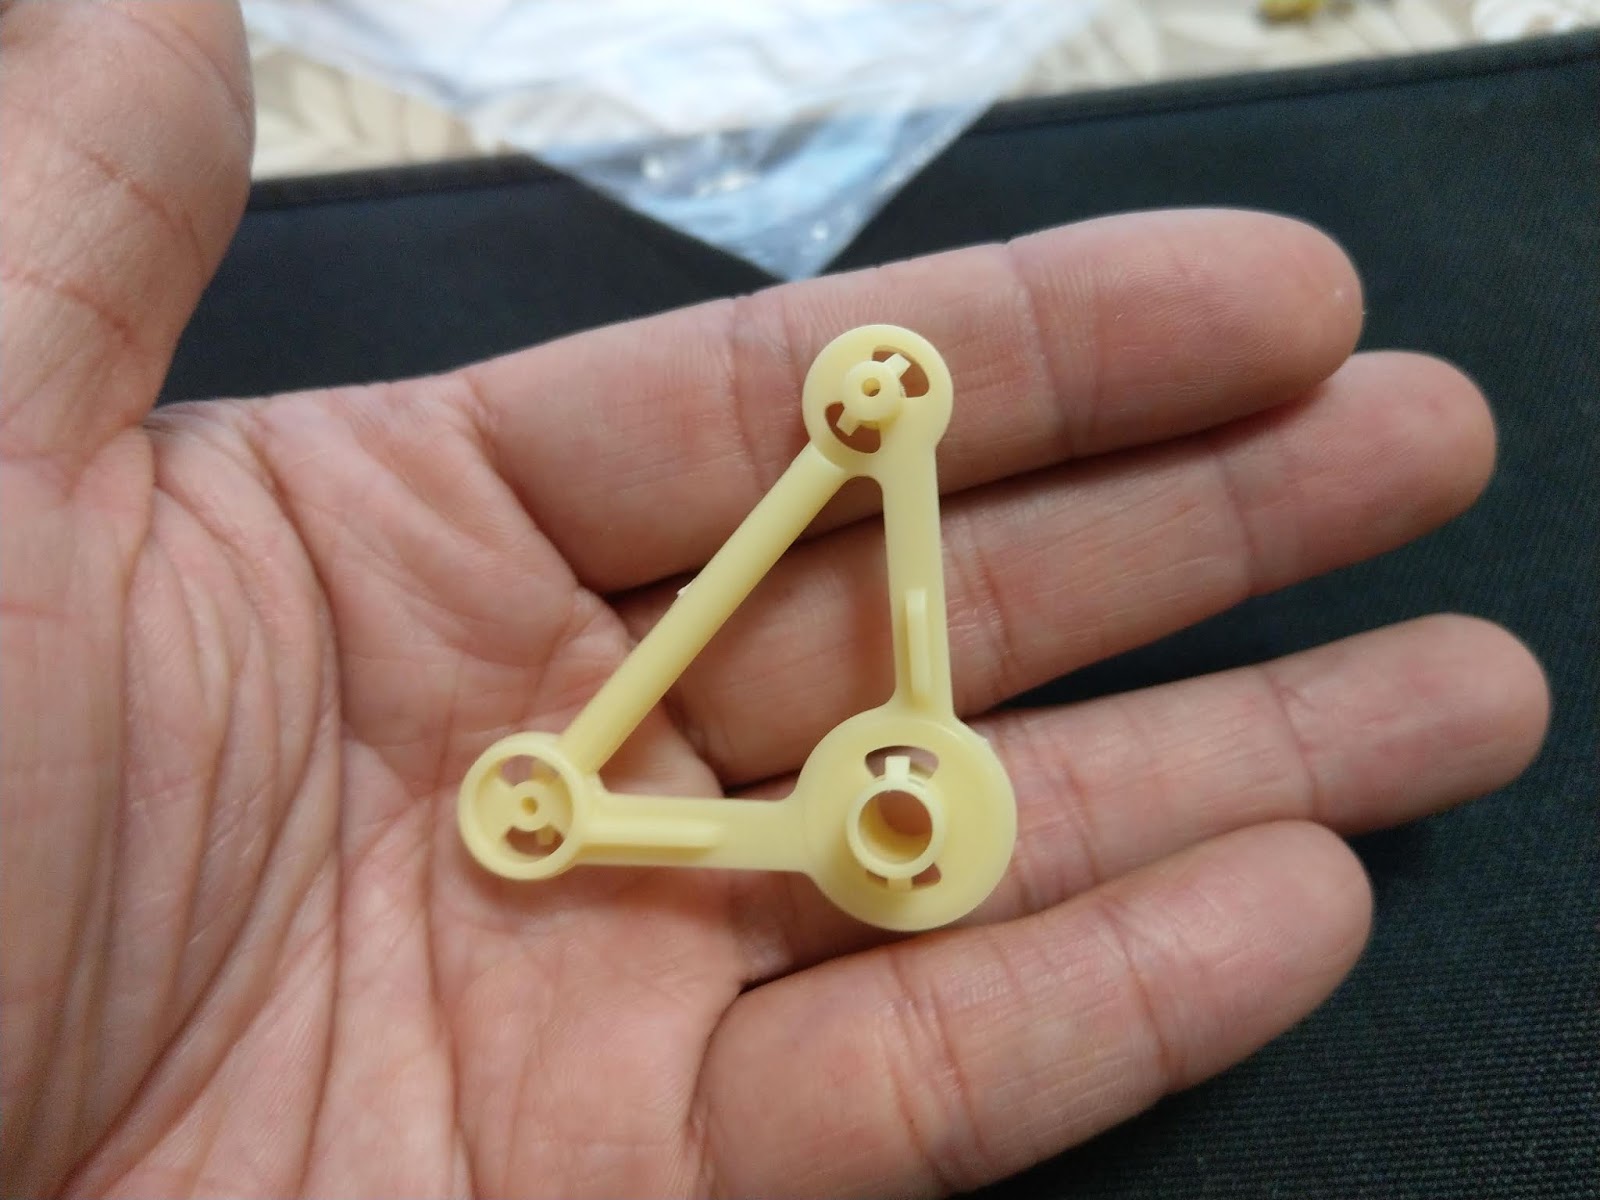
仿生獸結構可以學習凸輪設計與四連桿


(二)一號機_arduino nano BT
有了仿生獸的結構,我們只要加入驅動與程式控制部份,就能讓他自己動起來。

arduino nano+擴充板+N20馬達+L9110s驅動板

電力:2顆14500鋰電池

程式設計:mblock
(三)二號機_microbit


電力:2顆18650鋰電池
控制端: 被控端:


(四)三號機_webduino smart

webduino smart+TT馬達+L9110s驅動板

電力:行動電源

(五)四號機_超音波避障

測試中
(六)五號機_線控


